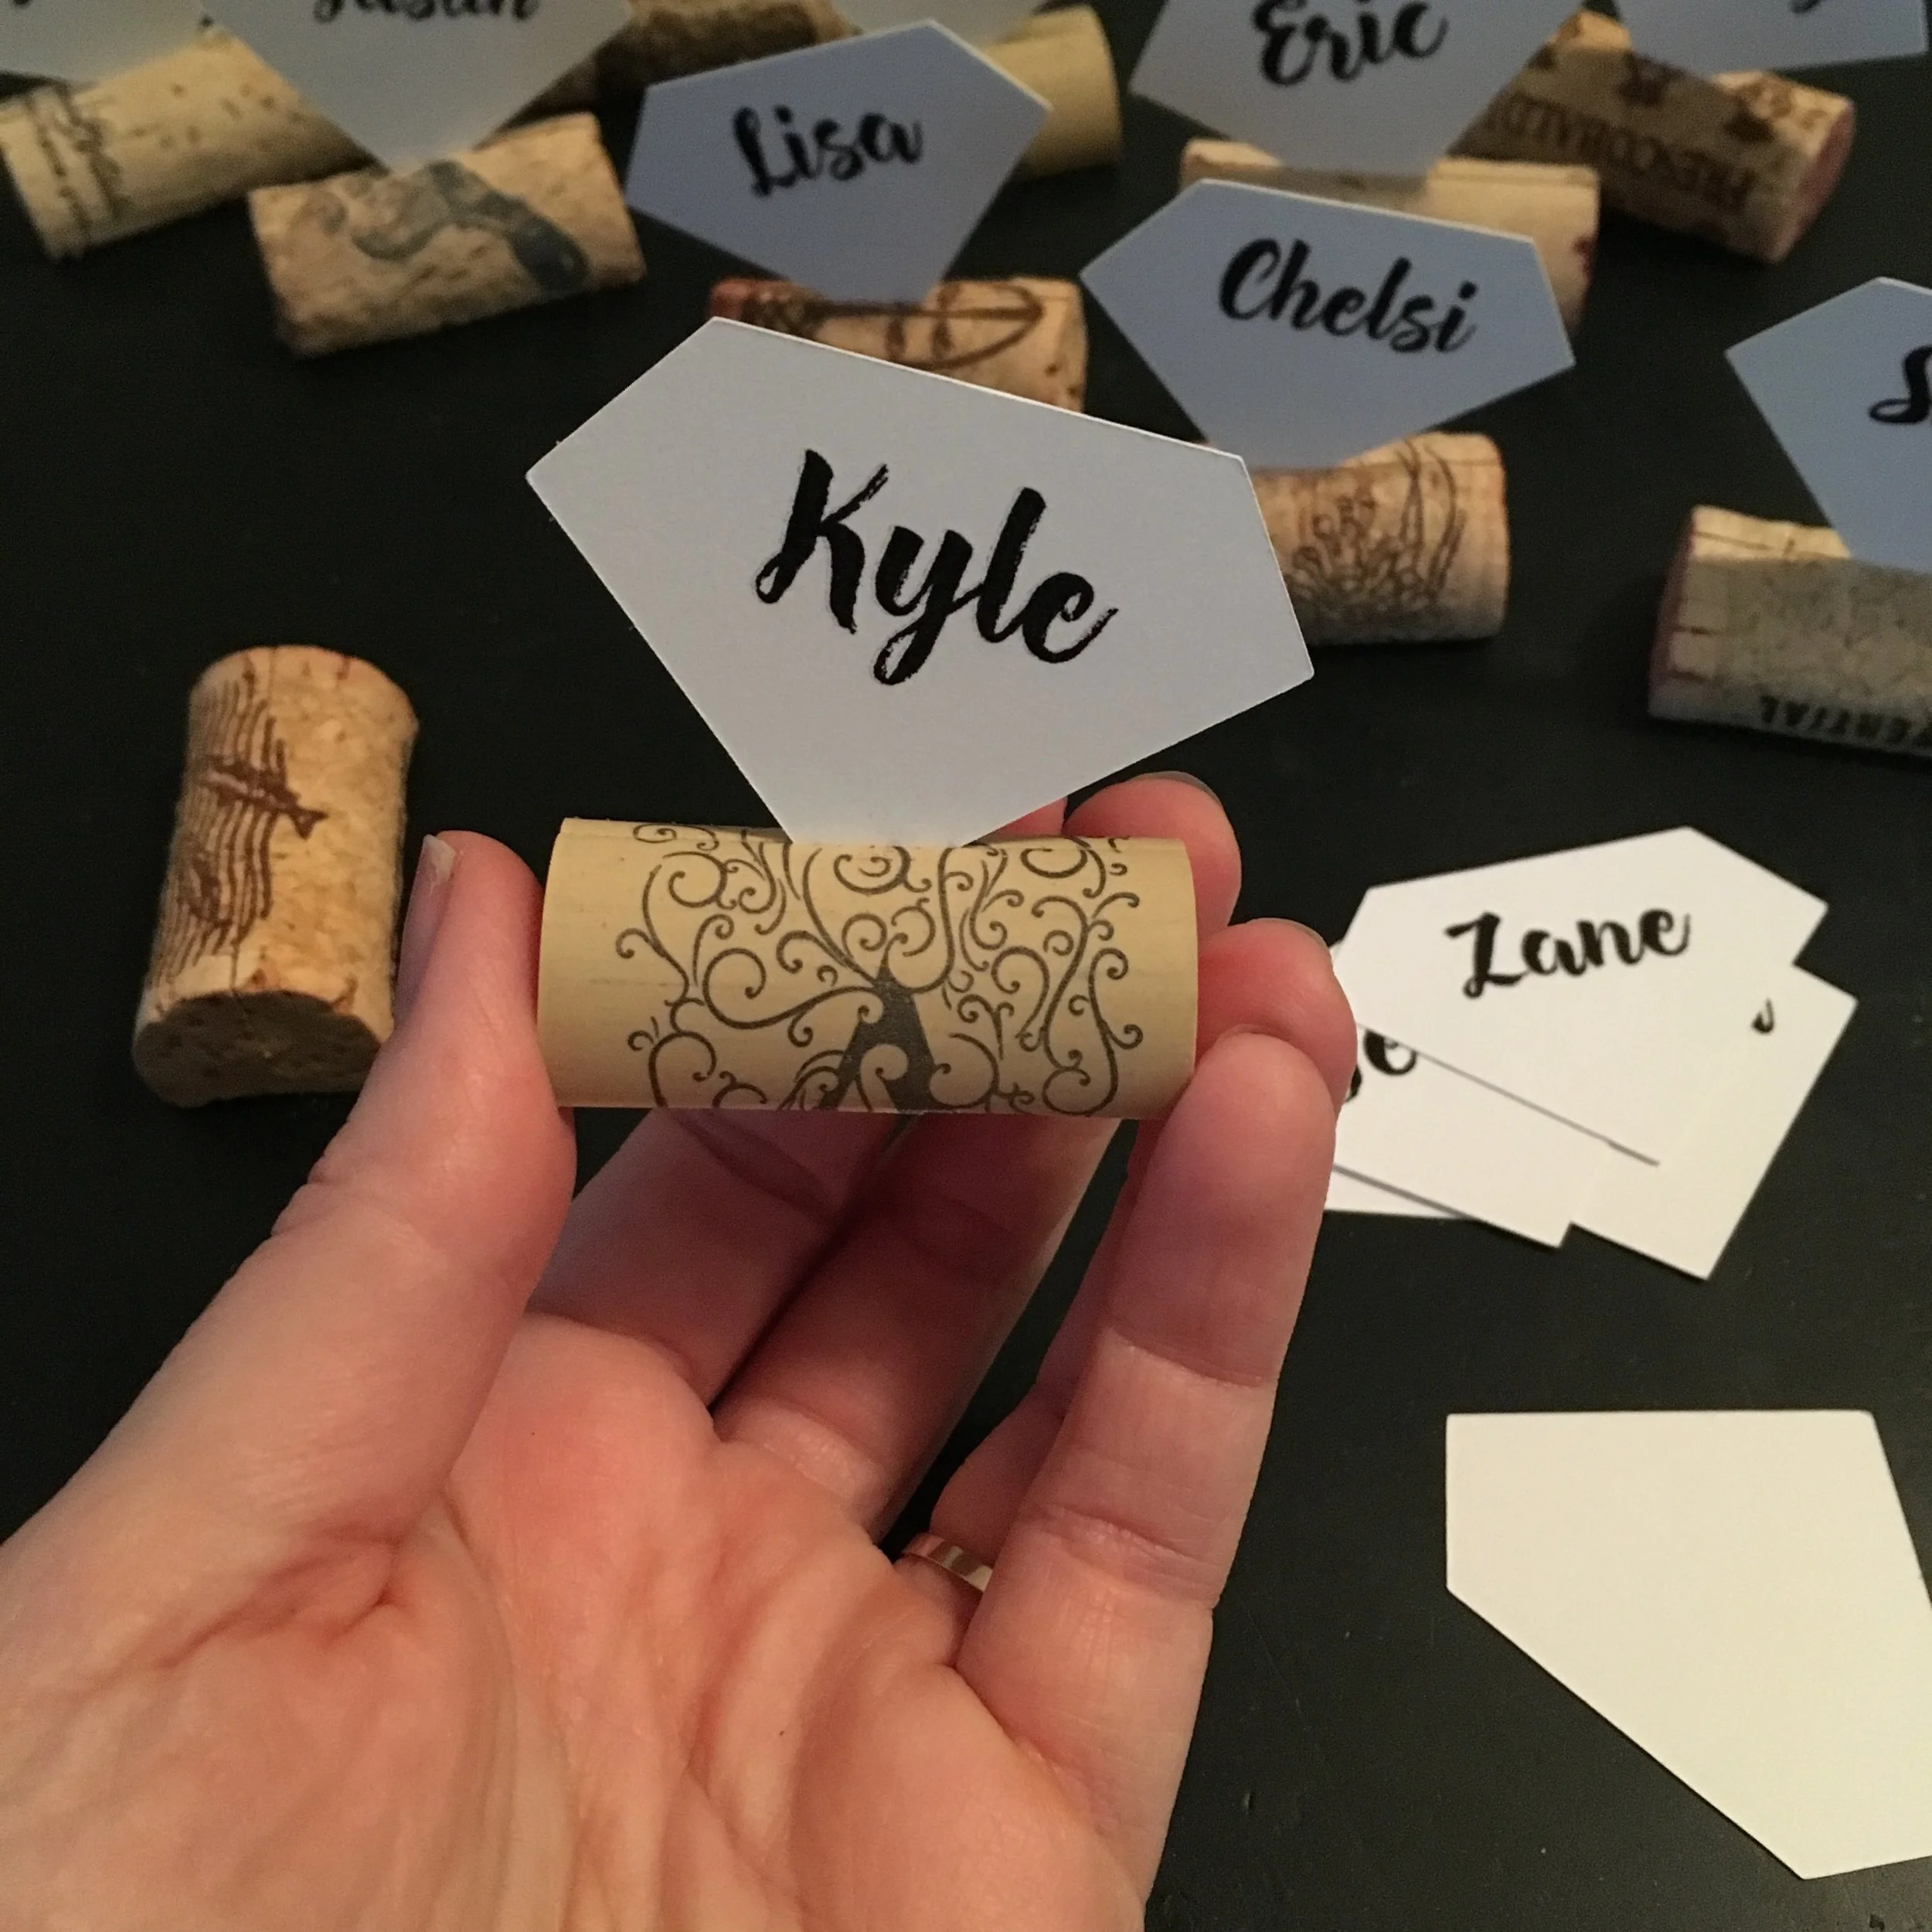
diy wine cork place card holders - vineyard event - eco craft
My husband and I are finally planning our official wedding reception we never had. We got married 9 years ago this October but we were not financially able to throw an event like this back then and I've wanted it ever since. Well, as the saying goes, it's never too late! Here, finally, after all these years we get the photos, the cake, and a fantastic dinner with friends and family. We're going all out! But we also have a budget. Follow me on this journey for a diy wedding reception that looks anything but cheap! Because it won't be ...but I do have to choose what's most important to spend money on and where I can fake it.
Here is one area I am faking it. The event site we rented is amazing. It's very eclectic which is nice for someone like me who sometimes has a hard time sticking to a strict theme. I wanted to pull from details on the property that fit my vibes and the vibes I wanted to feel when I envisioned this event. There is a beautiful vineyard and winery on the property, and I thought, "Hey! I love wine!" So I figured why not include some wine symbolism in my "theme".
For this diy you will need as many corks as you will need place settings plus a handful of extras in case of accidents. A sharp serrated knife, a cutting board, and a method to steam the corks. I used a pot, a strainer, and a lid... none of which went together even remotely!!
HOW TO GET USED CORKS:
- After you open a bottle of wine set your cork somewhere to dry.
- Ask your friends or family members to save them for you for your big day. Their merriment becomes entwined in the merriment of the special day.
- Ask local restaurants, wine tasting rooms, etc
- Find them at the thrift stores or check out a local Buy Nothing group online.
- If you get on Etsy or eBay you can find them in a pinch but you'll spend more $.
WHAT TO DO: steaming the corks causes them to expand and soften just enough that you can cut them without them cracking and falling apart. They are still round and can roll easily so watch your fingers. Hold the cork FIRMLY and apply steady pressure. Be careful to always have your fingers out of the way in case of slipping while you're cutting corks.
- Fill a couple inches of water in your pot. You don't want so much water that it comes through the holes of your strainer when you set your strainer inside the pot.
- Place your strainer in the pot above the water line.
- Put corks in the strainer.
- Steam for 5 - 10 minutes. The more corks the more time you'll need to steam them. I like to use only a handful of corks at a time so that they don't cool down and harder while I'm still cutting them.
- Turn off the burner and let the steam subside. The corks will be a bit swollen but when they cool they will harden back up. Remove the corks one at a time, leaving them in the warm pot until you're ready to cut them.
- Cut off 1/3 of the cork to create a flat bottom. Depending on the type of cork it is best to either saw in short strokes or slice in long strokes layer by layer. You'll get the feeling for the different corks as you go.
- Set that cork on it's flat side and you'll cut the cork again. You'll need a central slit in the top of the cork where you can slide in your place cards. Be careful not to cut too deeply and separate the cork into two. I cut about halfway through mine.
- You're done!
TIPS: After your cork is cooled and re-hardened it can be a bit tricky to get your place card in without bending the paper. If you squeeze the cork it will open slightly and you can gently slip your card in there and release your squeeze. The cork will firmly hold your card in place.
I hope you enjoyed this simple, practically free, and green diy!
PS - I made all my place cards on my silhouette! If you don't have one, see if anyone in your bridal party has one and is willing to help you make cards. My diamonds are approximately 2 inches by 1.5 inches. Or buy one for yourself! It's cheaper than hiring someone for stationery.
xoxo Jenny


